


Pellet Grill Smoked Brisket (Texas-Style)
Equipment
- Pellet grill
- butchers paper
- Spray bottle for the spritz
- disposable aluminum pan filled 3/4 of the way with water (used during the cook)
Ingredients
- beef brisket untrimmed weight should be about 15-20lbs
- ¼ cup mayo
- kosher salt
- coarse ground black pepper
- garlic powder
Beef broth spritz
- beef broth I use Better Than Bouillon
- apple cider vinegar
Instructions
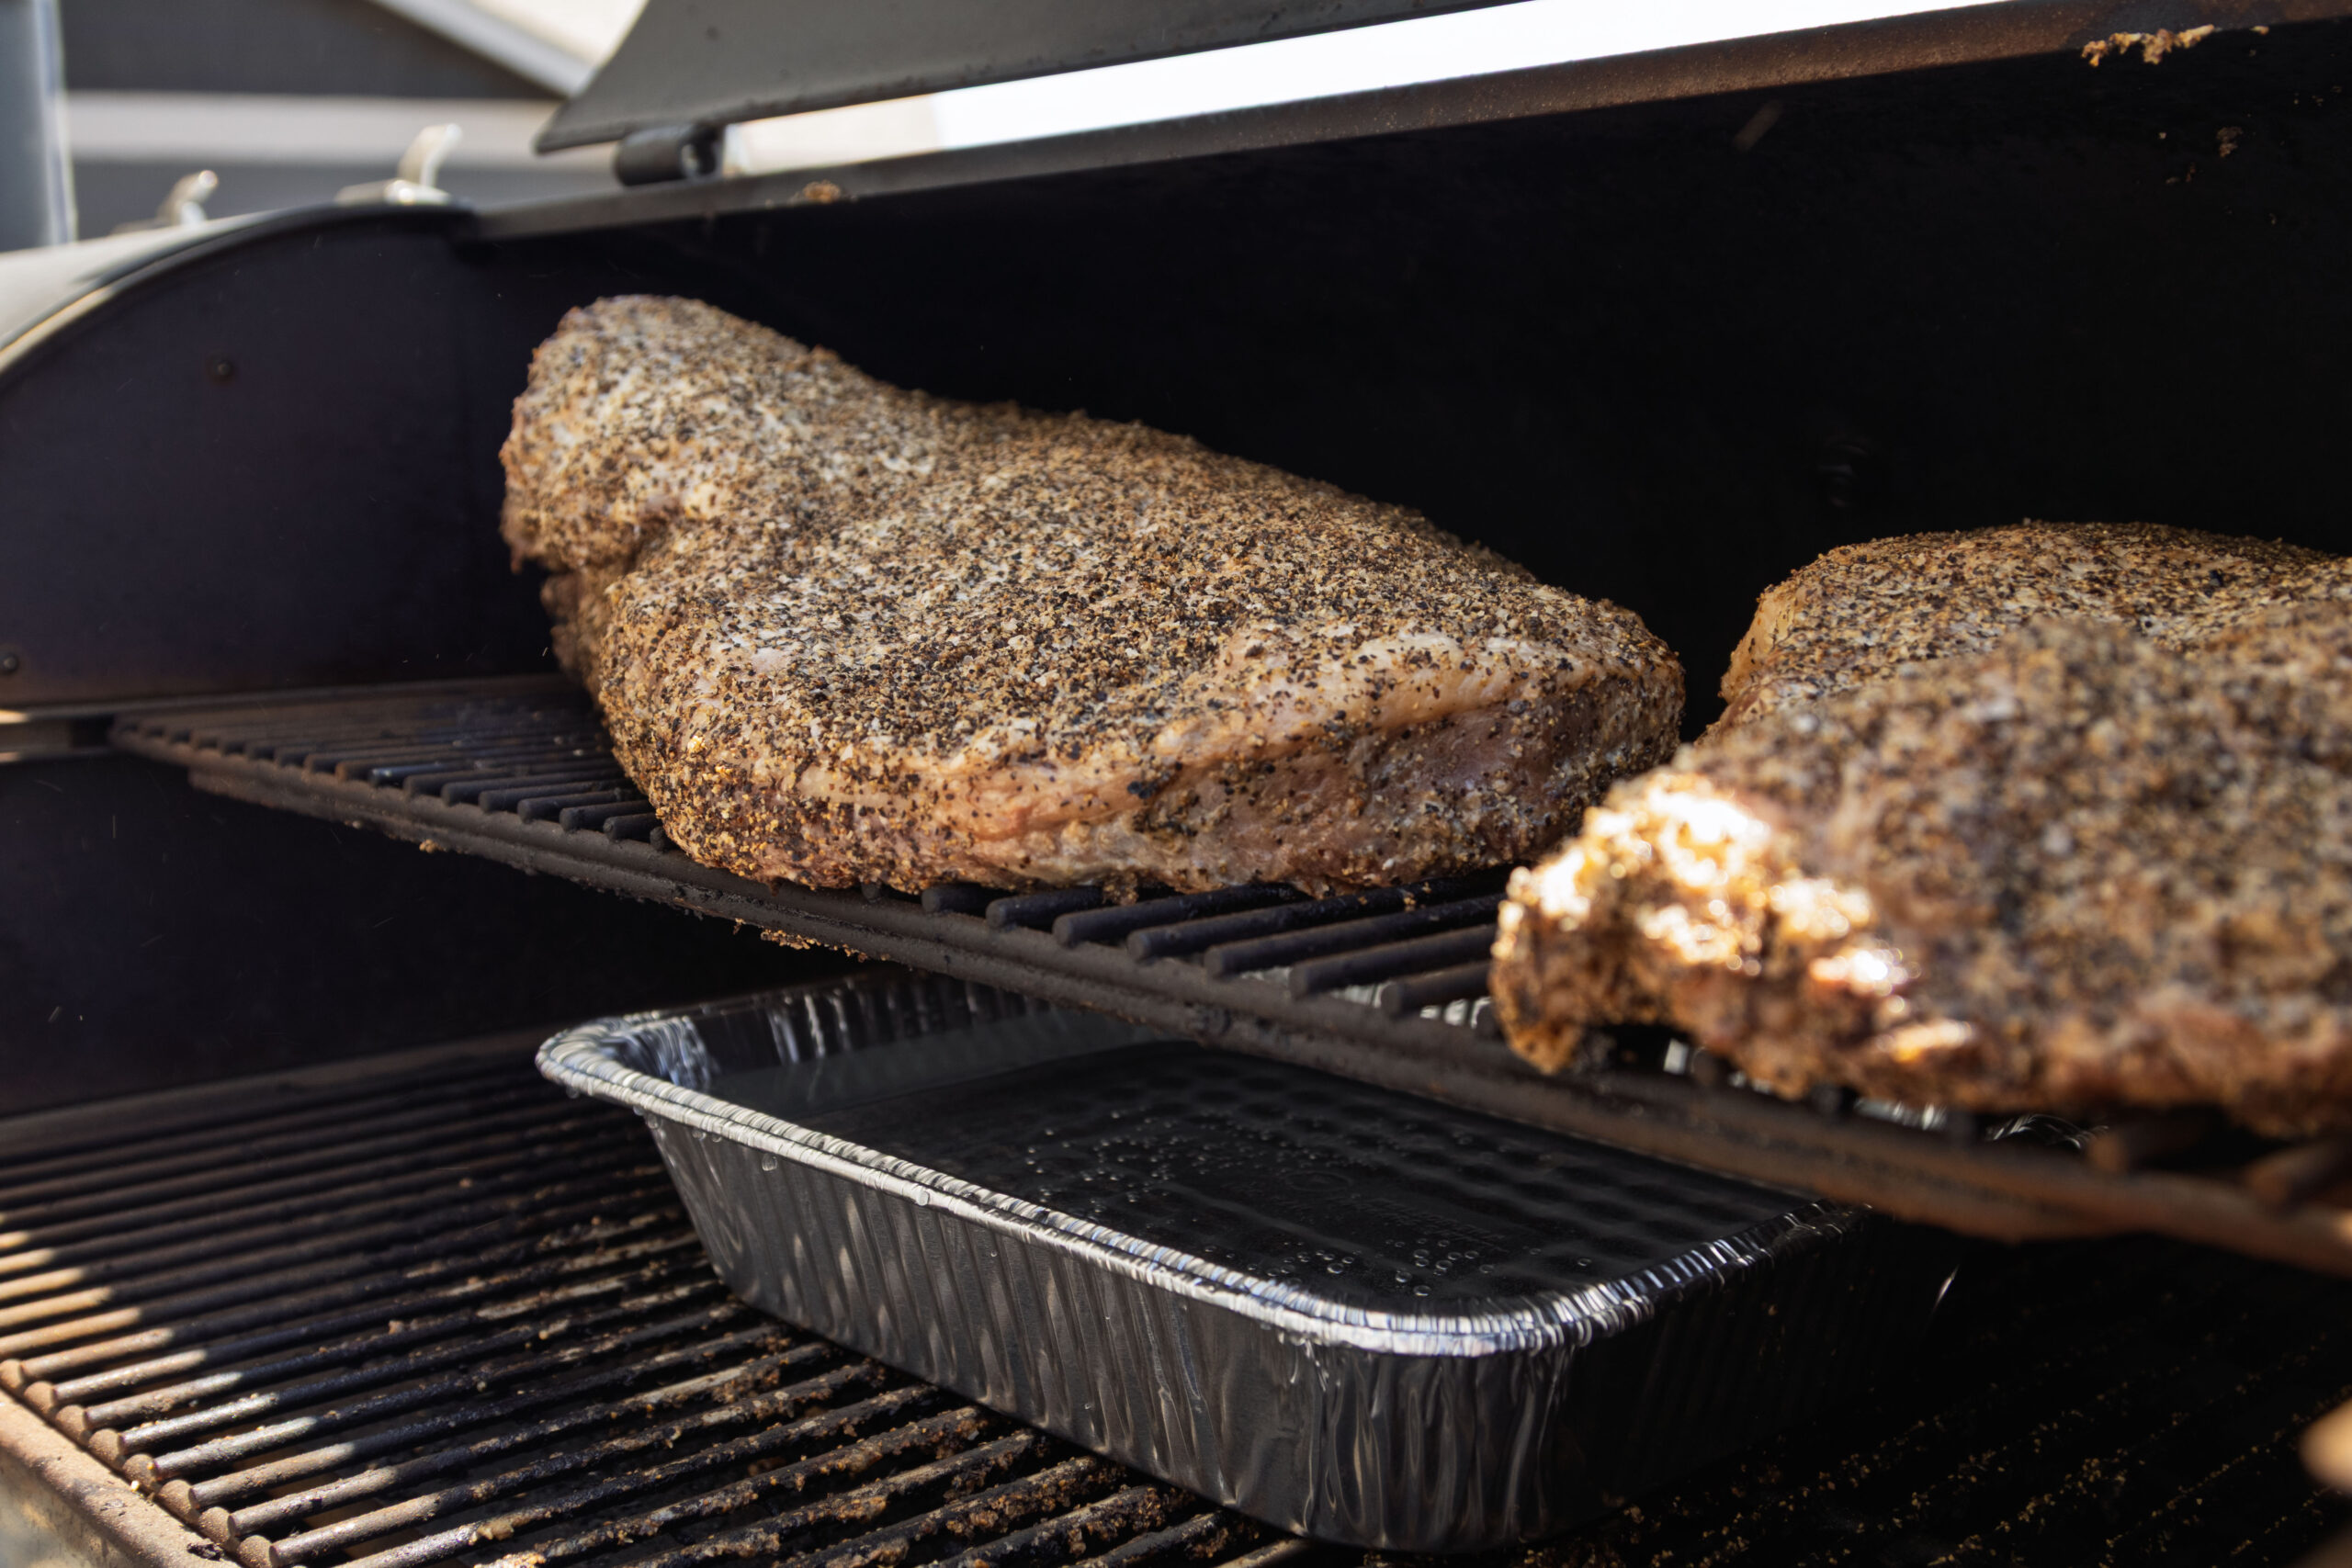
- Set your pellet grill to 200℉. Turn on SuperSmoke if your grill has it. If it doesn't, that's ok. Add a disposable aluminum pan in the smoker and fill it with water (and keep it filled while cooking) to increase moisture in the chamber.
- Prepare and trim the brisket. Follow my guide on how to trim a brisket for smoking if you need help learning how to do it.beef brisket
- In a large plastic tub, place the trimmed brisket and apply the mayo binder evenly all over. I like to use a large plastic tub because it keeps the work area clean. You can use a cutting board if that's what you have.¼ cup mayo

- Season the underside (the flat) with coarse ground black pepper only.coarse ground black pepper
- Flip the brisket fat-side up. Season with kosher salt, coarse ground black pepper, and a light dusting of granulated garlic powder.kosher salt, garlic powder, coarse ground black pepper

- Place the brisket fat-side down directly on the grates on the second shelf furthest away from the heat source with the point end closest to the heat source (flat furthest away from the heat source).
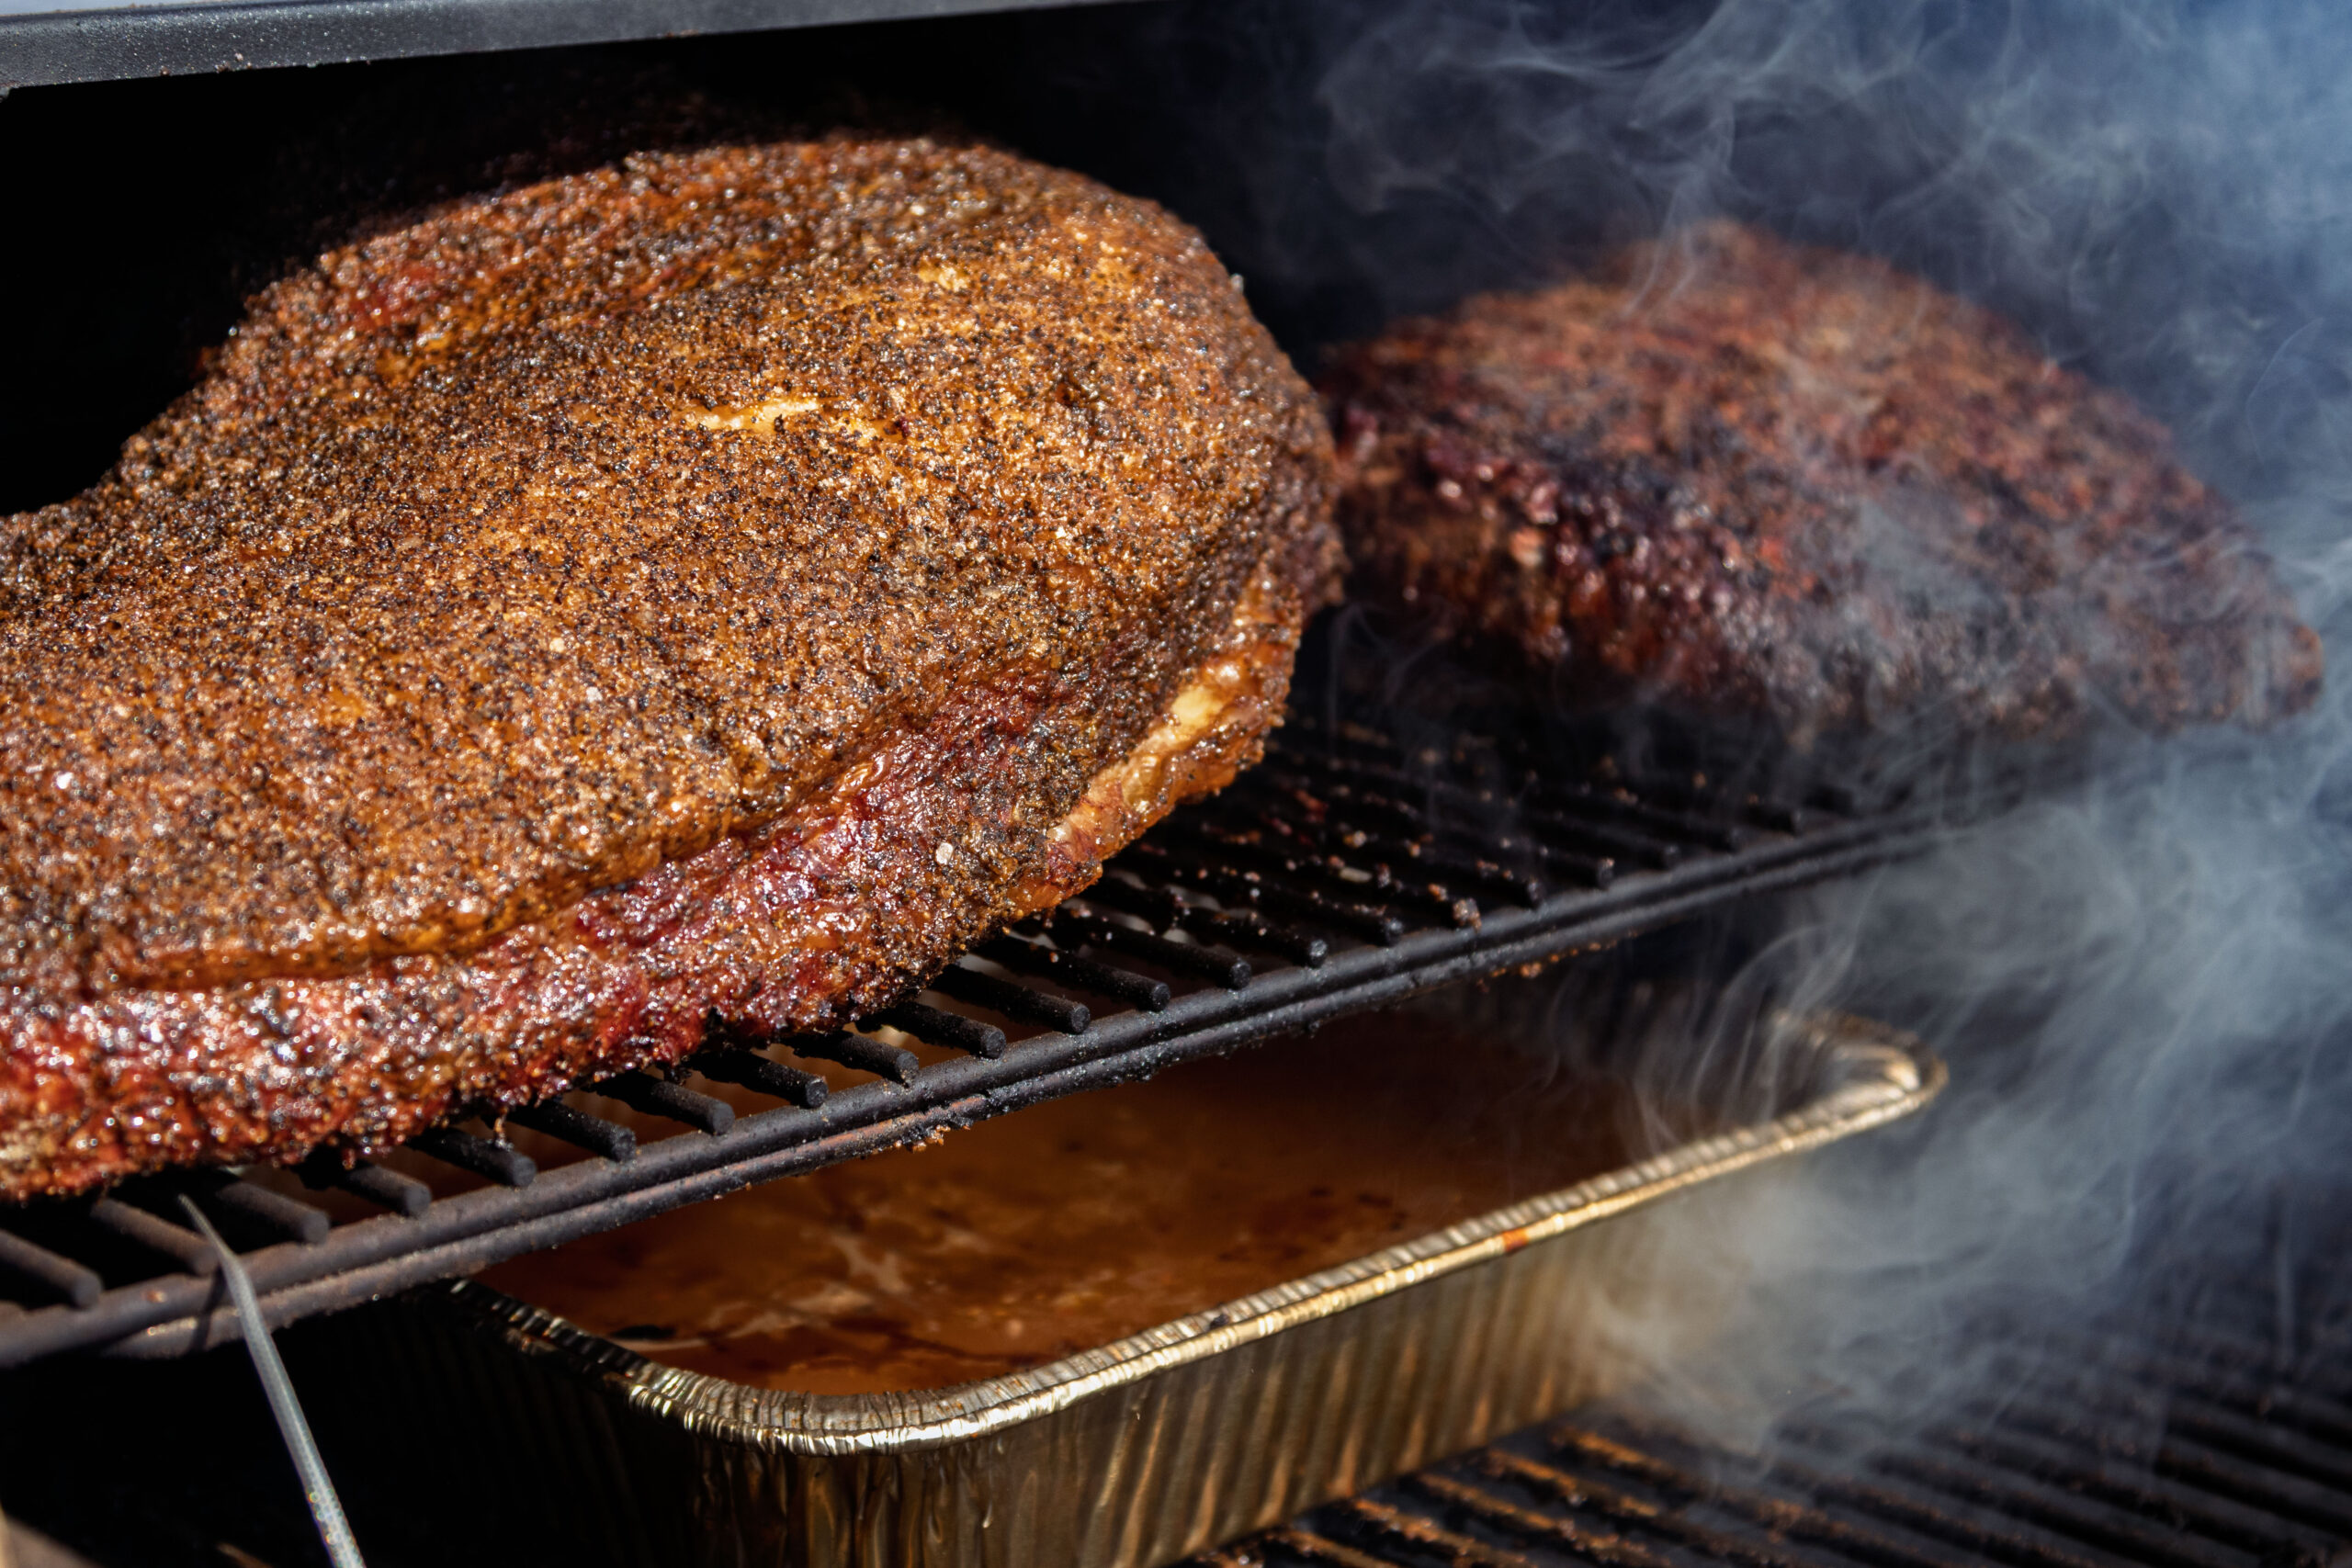
- Close the smoker and smoke for about 5 hours, until the bark starts to form.
- Starting at the top of the 5th hour, spritz the top (up-facing) side with a 50/50 mix of beef broth and apple cider vinegar every 45–60 minutes, three times.
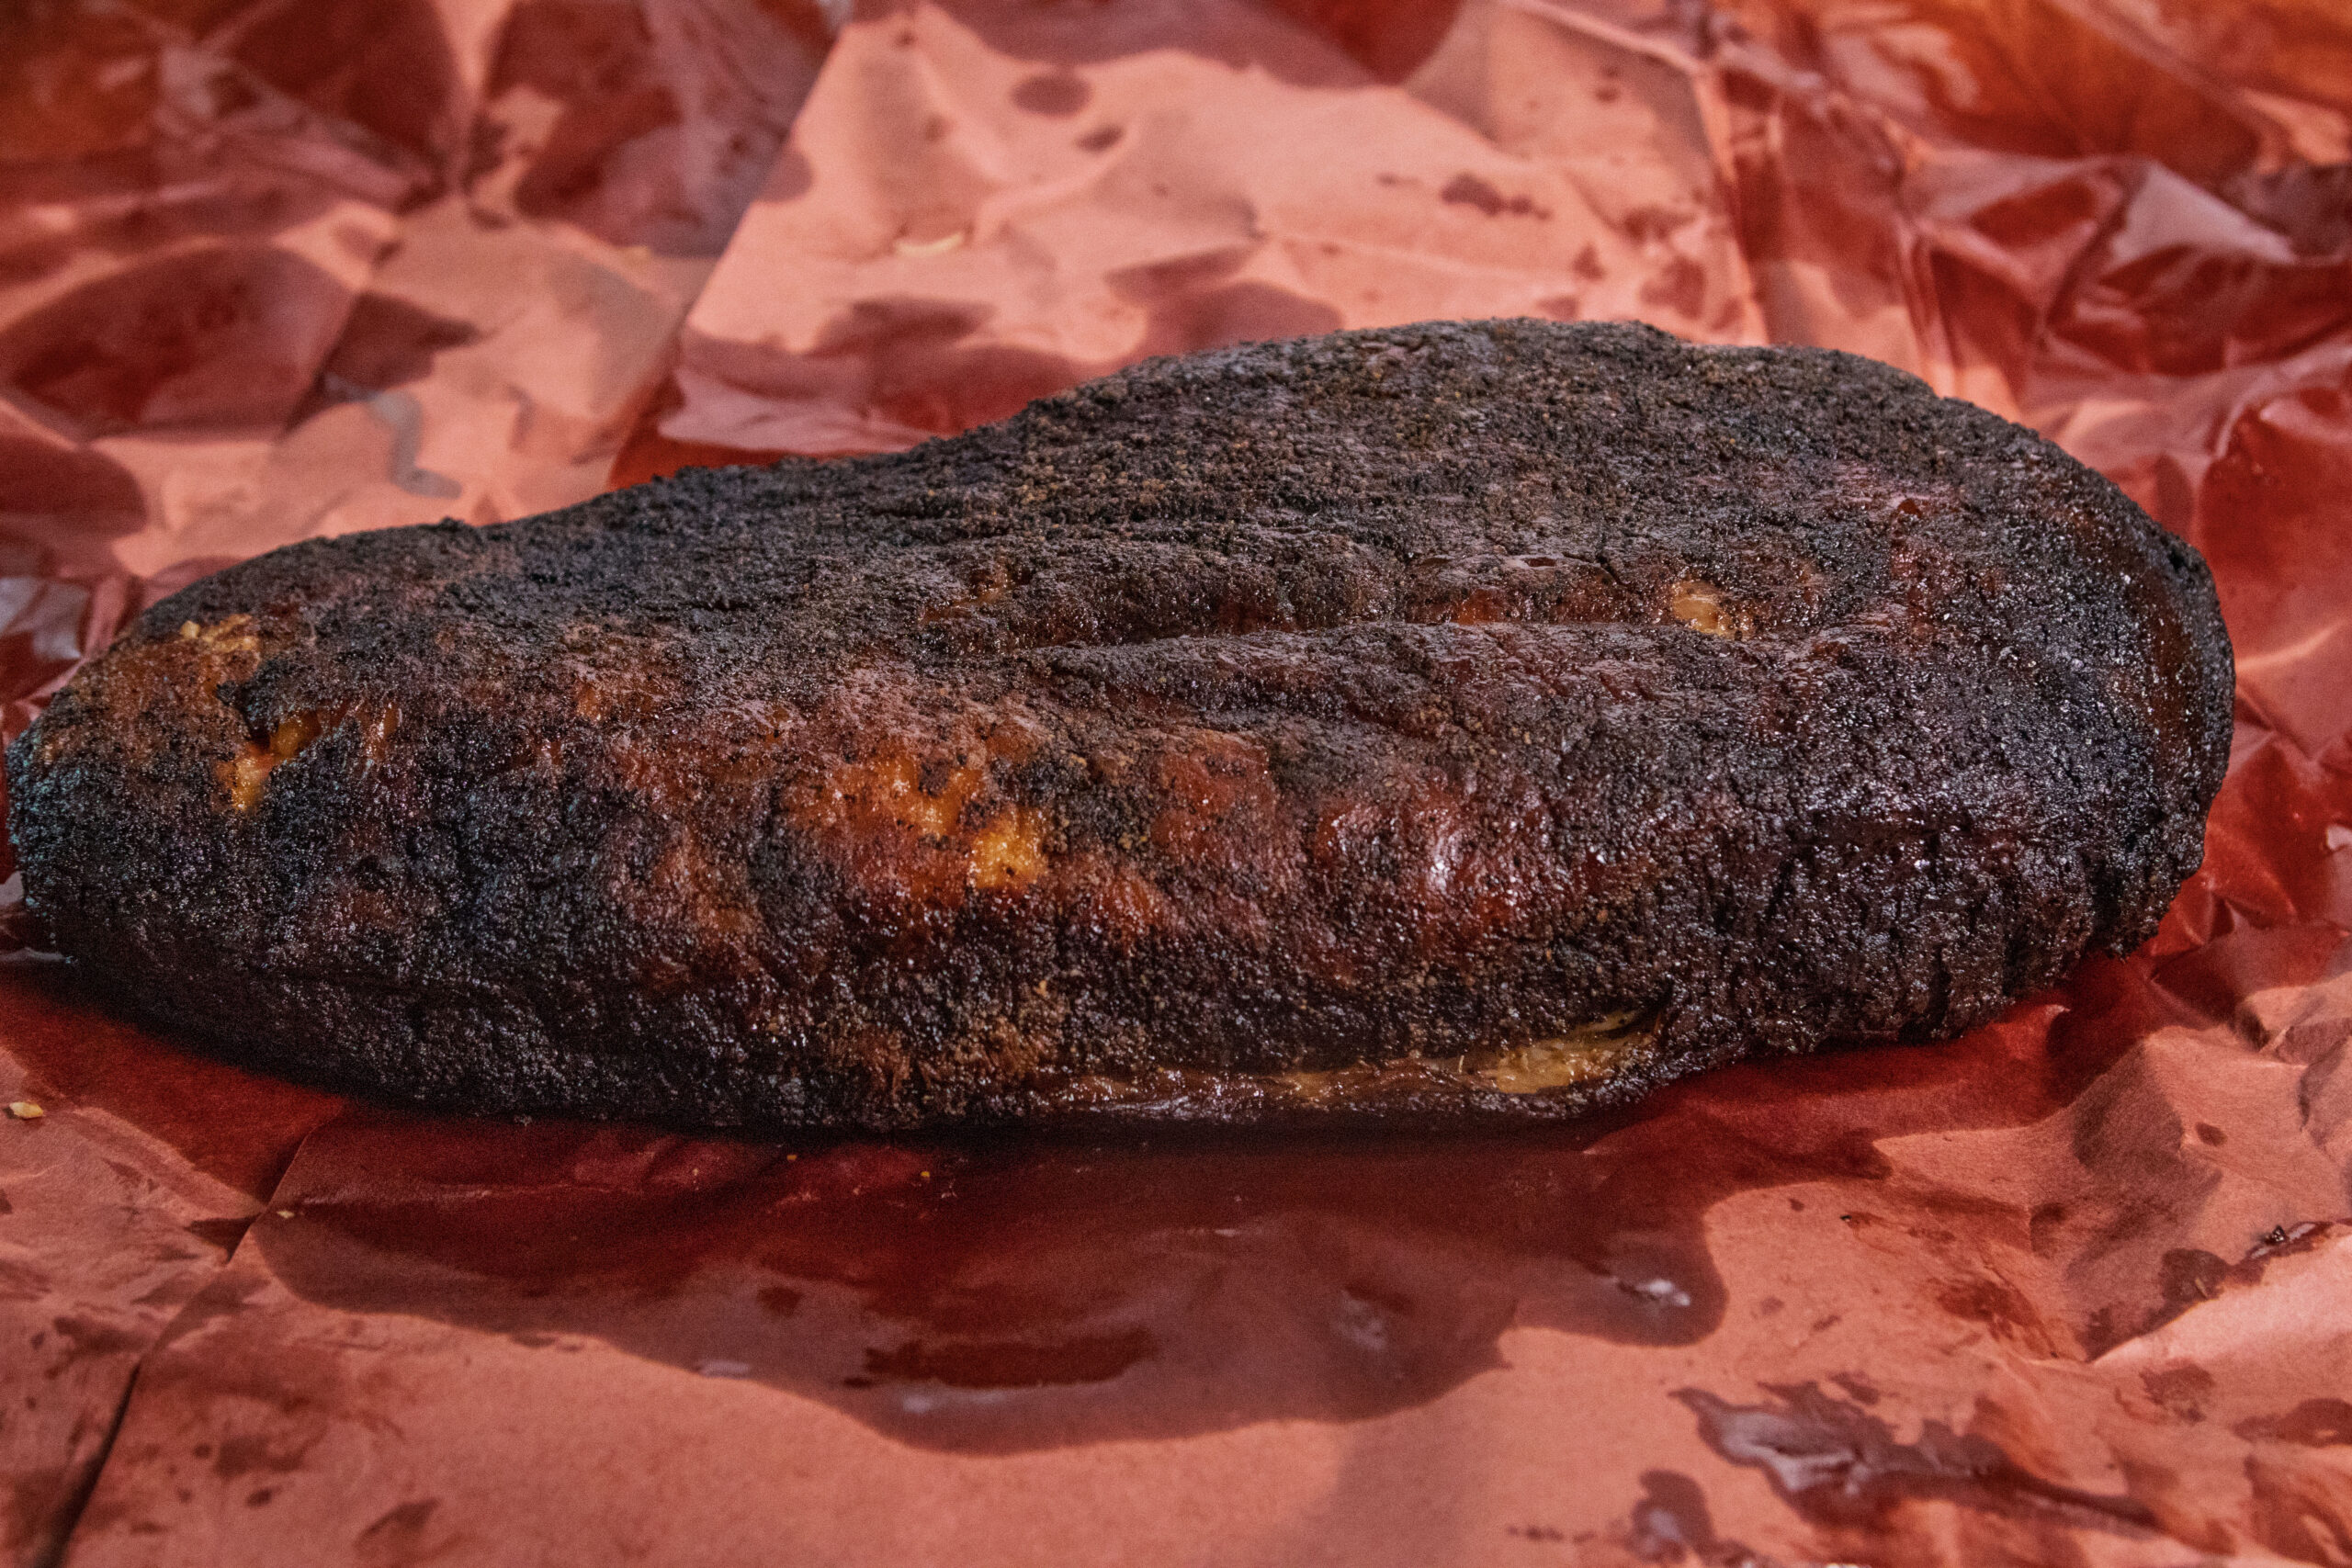
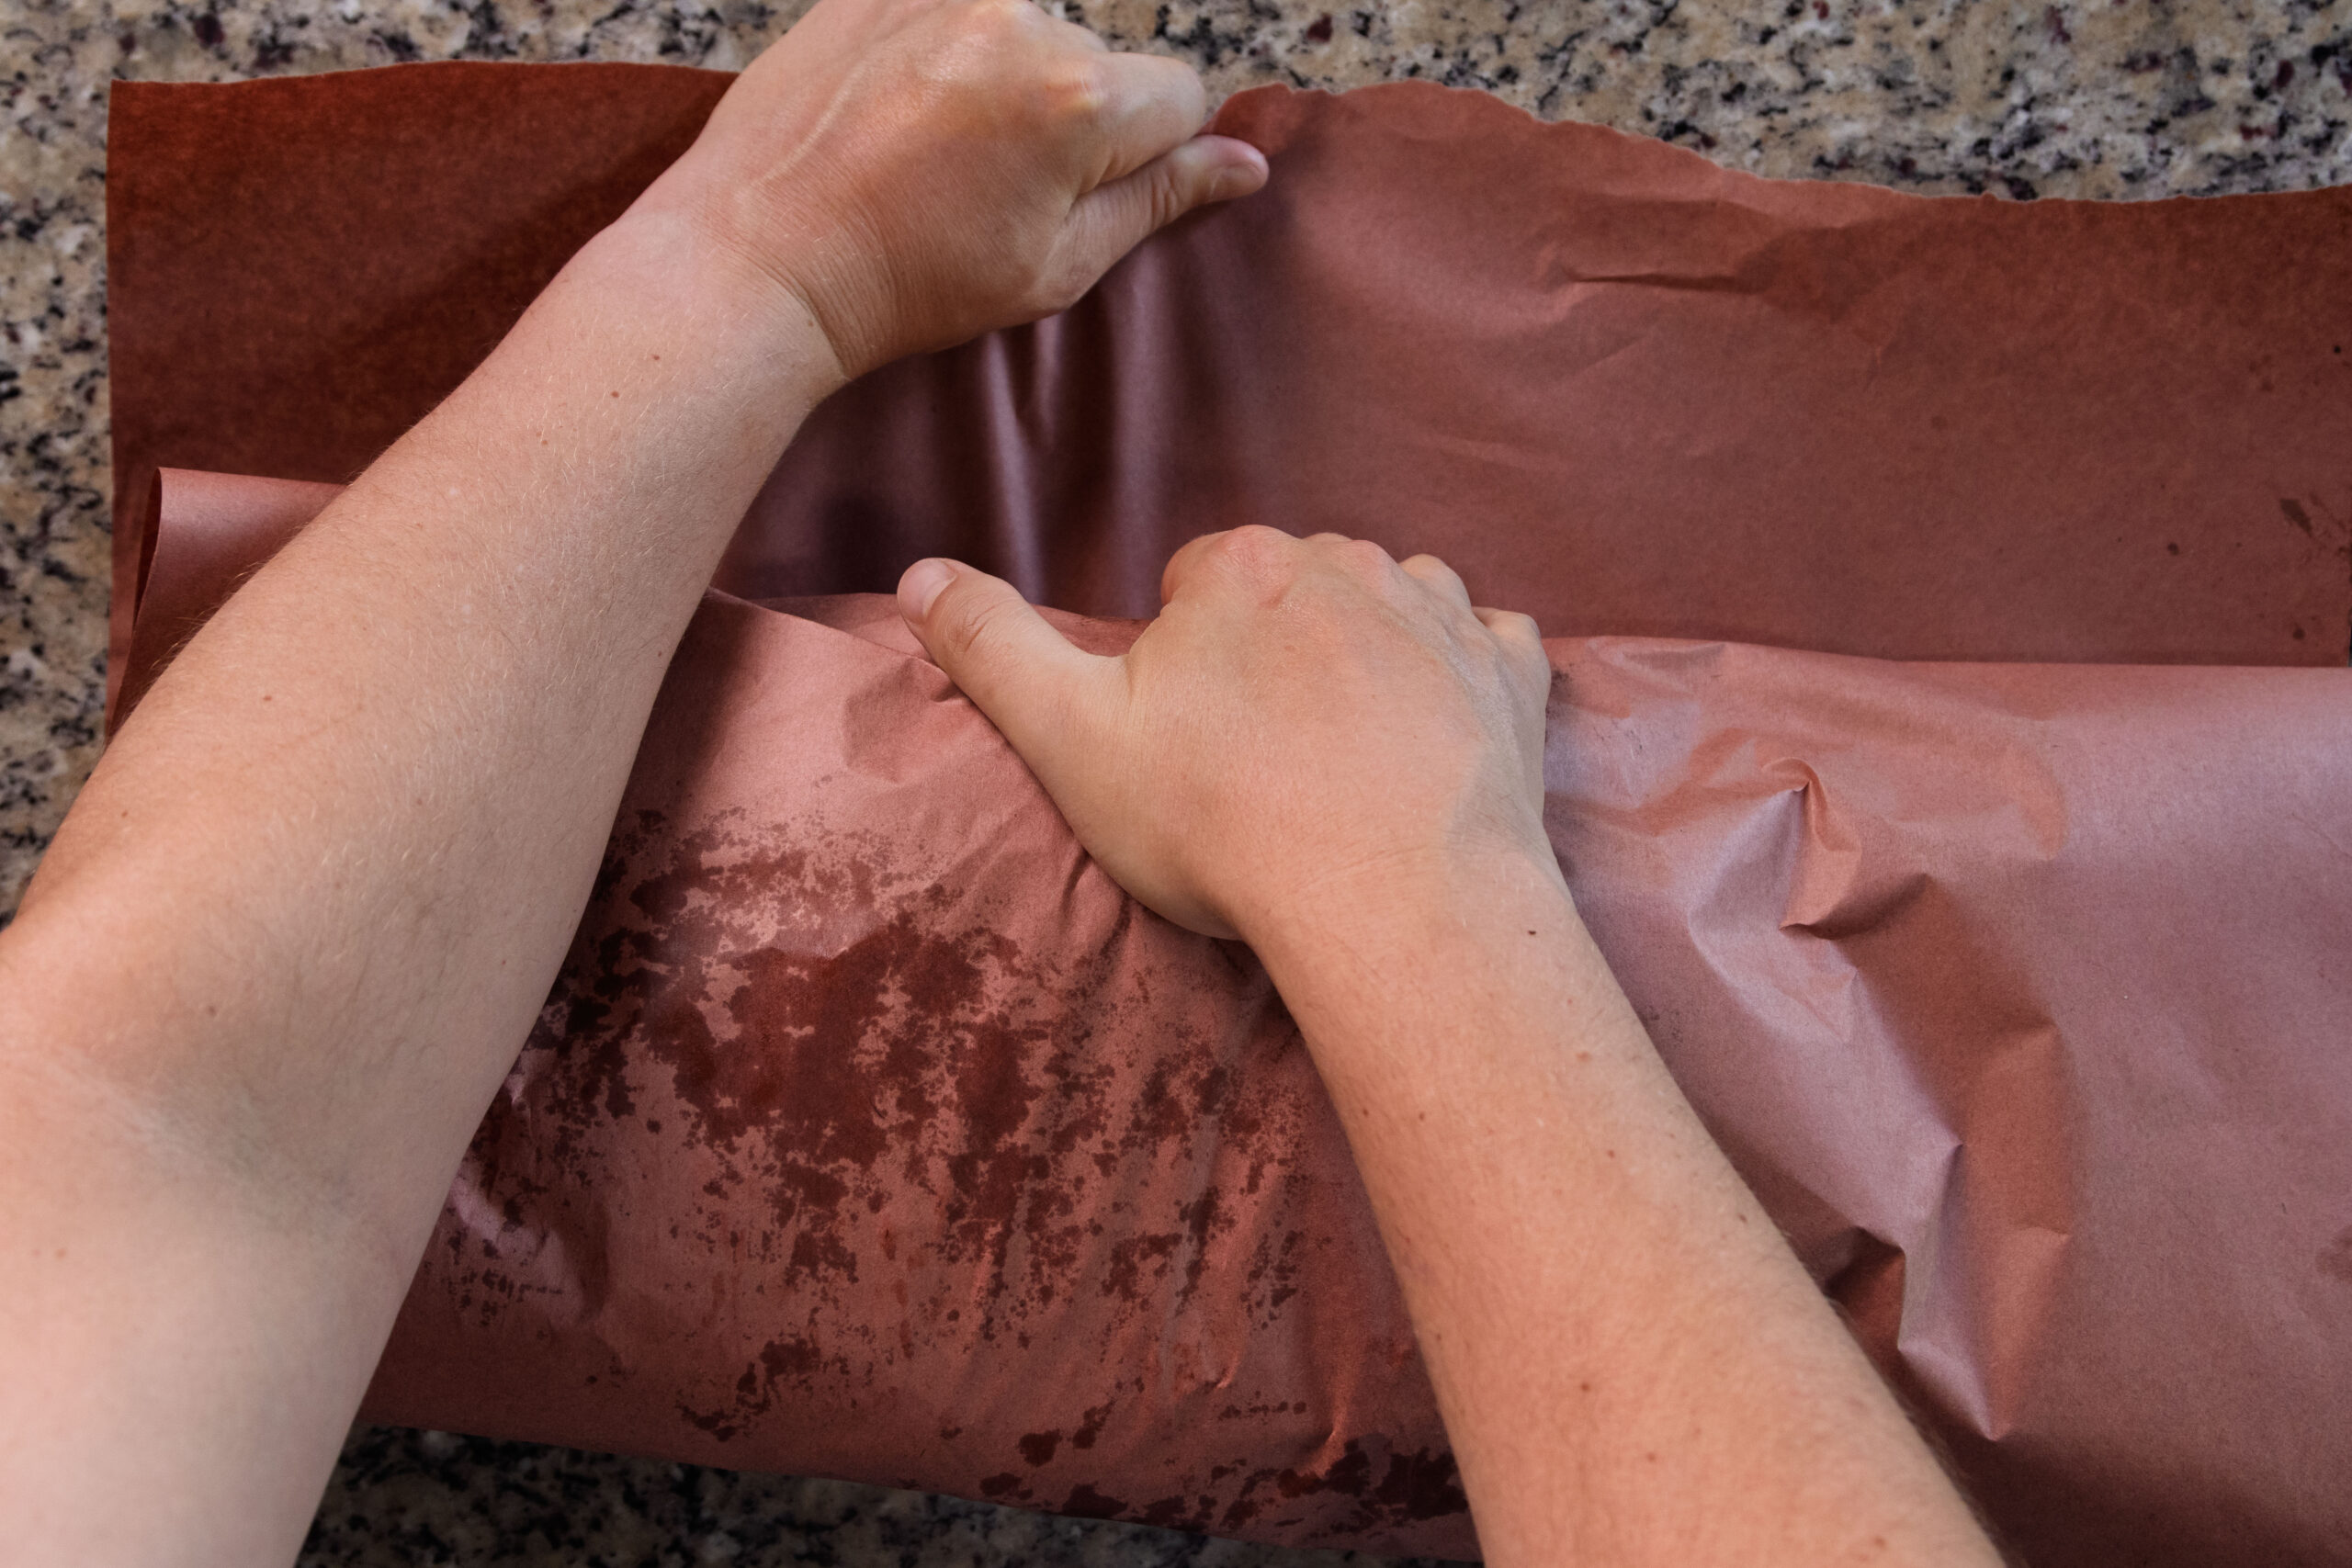
- Lay out two big sheets of peach butcher paper in a cross. The cross shape helps prevent juices from escaping. Wrap the brisket and place it back on the smoker, fat-cap facing down.
- Increase the temperature to 250℉ and smoke until you can probe the meat and feel very little resistance (like a knife that goes into soft butter).
- Remove it from the smoker. Do not unwrap it. Wrap it in several kitchen towels. place it in the empty ice chest and close the lid. Let the brisket rest at least 2 hours, up to 12 hours.
- To serve, slice against the grain. To learn how to slice a brisket, follow my guide on how to slice a brisket.
Nutrition
There’s a reason pitmasters in central Texas have been doing brisket the same way for decades. Salt, pepper, smoke, time. That’s it. No fancy rubs with 14 ingredients. No injections. No shortcuts. Just a massive slab of beef, a few fundamentals done right, and the patience to let it all come together.
I’ll be honest, brisket intimidated me for a long time. I lived in Dallas, Texas for nearly 10 years. I was surrounded by some of the best BBQ known to mankind (lookin’ at you Terry Black’s).
So, when I say I was intimidated, I mean it. It’s expensive, it takes forever, and the margin for error feels razor thin. But once I stopped overthinking it and committed to the process, everything clicked. This recipe is the culmination of a lot of trial and error (and many disappointing cooks and sleepless nights I’d rather not talk about).
I Stopped Dry Brining
I used to dry brine this brisket overnight. I don’t anymore. Now I trim it, hit it with a mayo binder, and season the two sides differently, and the salt mostly comes on later during the cook. It’s a simpler day-of process, and if you’ve ever smoked a turkey breast without brining first, you already know a good piece of meat doesn’t always need an overnight step to come out juicy.
I found that dry brining did really enhance the flavor much more than not. What I found was the difference maker was the beef broth spritz. It’s the difference between good brisket and brisket that makes people go quiet when they take the first bite.
Before you season anything, though, you need to trim your brisket properly. Trimming is one of those things that feels wasteful the first time you do it, but leaving too much hard fat on the surface means the smoke and seasoning can’t penetrate. You want about a quarter inch of fat cap. Enough to protect and baste the meat, not so much that you’re eating chunks of unrendered fat.
The Mayo Binder (Trust Me)
I know. Mayo on brisket sounds wrong. But all you’re doing is creating a thin, tacky surface for the rub to stick to. Mayo is mostly oil and egg, so it adheres beautifully and contributes zero flavor to the finished product. I’ve tried mustard, olive oil, and hot sauce as binders. Mayo wins every time for even coverage with no flavor interference. IYKYK.

The Seasoning Is Split Between Two Sides
Texas brisket still lives on coarse black pepper and kosher salt. What changed is how I put it on. The underside, the leaner meat side, gets coarse ground black pepper only. No salt. Then I flip it fat-side up and season that side with kosher salt, more coarse black pepper, and a light dusting of granulated garlic powder.
Leaving salt off the meat side is on purpose. That side faces up on the smoker, and it’s the side I spritz. Beef broth spritz → salt on the lean side. So instead of salting it up front, I let the broth carry the salt in over the course of the cook. More on that in a second.
Go heavier than you think you should on the pepper. This is a 15 to 20 pound piece of meat. What looks like a generous coating will spread thin once you account for all that surface area.
Fat Side Down, and Watch Your Rack
I run my brisket fat-side down, with the fat cap facing the heat source. On a pellet grill the heat comes from below, so the fat cap sits between the flame and the meat and shields the flat from that direct radiant heat. The seasoned meat side stays up top, exposed, building bark.
If I was smoking on an offset smoker, the fat cap would absolutely be facing up.
One warning if you’re on a pellet grill: cook on the second rack, not the bottom one. The lower rack sits too close to the heat source, and it’ll scorch the bottom of the brisket into leather before the rest of it is anywhere near done. The extra few inches of the second rack make all the difference.
If you don’t have a second rack, that isn’t the end of the world but just know that your end result will likely be a bit drier than if had been able to smoke on a second rack. So, if you’ve been considering upgrading your smoker, here’s the validation you needed, LOL!

Keep the Chamber Humid
One thing worth calling out about the cook itself: keep some moisture in the chamber. That’s what the water pan is for. Increasing the moisture in the cook chamber helps the smoke adhere to the meat and gives it more of that smoky flavor. Smoke likes moisture. More moisture = more smoke flavor.
That doesn’t mean a sopping-wet brisket absorbs more smoke. It’s all about humidity, not soaking the meat. A humid environment encourages smoke to stick. A dry, arid one works against you.
Smoke Low, Then Spritz
Set the smoker to 200°F and let the brisket ride for about five hours, until the bark starts to form. Don’t rush this part and don’t keep opening the lid to check. You’re waiting on the surface to set into a dark, craggy crust.
Once the bark has formed, start spritzing. I use a 50/50 mix of beef broth and apple cider vinegar (Better Than Bouillon is my broth of choice), and I hit only the up-facing meat side every 45 to 60 minutes, three times total. The broth is doing real work here. Since I left the salt off that side up front, the spritz is what seasons the lean meat as it cooks. Three passes of broth and the flat gets the salt it needs without ever sitting in a dry brine the night before.
If you’ve made my Texas-style smoked pulled pork, this rhythm will feel familiar. Wait for the bark, spritz on a timer, then wrap. Same routine, completely different piece of meat.

Wrap, Then Cook Until It Probes Like Butter
After the third spritz, wrap the brisket in butcher paper. Butcher paper is the middle ground between cooking unwrapped (which can dry out the flat) and wrapping in foil (which steams the bark soft and gives the meat a pot-roast texture). The paper holds moisture in while still letting the bark breathe. That matters.
Put it back on the smoker fat-side down and bump the temp up to 250°F. From here you’re cooking to feel, not to the clock. You’re done when a probe slides into the thickest part of the flat with no resistance, like it’s going into warm butter. That’s the finish line.
The Rest Is Not Optional
Here’s where most people blow it. They hit 203 degrees, pull the brisket, and start slicing within an hour because they’re hungry and impatient. I get it. But resting is arguably the most important part of the entire cook.
Wrapping the brisket (still in its butcher paper) in towels and placing it in a dry cooler for at least two hours lets the internal temperature slowly equalize. The juices that got pushed to the center of the meat during cooking redistribute throughout. Cut too early and those juices end up on your cutting board instead of in the meat. A properly rested brisket will hold its juices when you slice it. You’ll see the difference immediately.
Two hours is the minimum. I’ve gone up to 12 hours and the brisket was still warm and maybe even better. The cooler acts as an insulator, not a cooler in the traditional sense. No ice. Just dead air space holding in residual heat.
What to Serve Alongside
A great brisket doesn’t need much to make a meal, but the right sides really round things out. A batch of sweet tangy coleslaw brings the acid and crunch that cuts through all that rich, smoky beef. And I’m a firm believer that honey skillet cornbread belongs on every BBQ spread. The crispy edges hold up to being dragged through any leftover juices on the plate.
If you’re going all out, a tray of southern baked beans completes the lineup. Smoky + sweet + savory, right alongside the brisket. It’s almost too much. Almost.
And if you’re the type that puts BBQ sauce on brisket (I’m not judging), then you have to serve my beet bbq sauce. Yes, I said “beet.” Don’t worry, it doesn’t taste earthy like a beet. The beet adds beautiful color and a nice depth of flavor. No dirt-flavor here.
For those with a sweet tooth (that’s me), my peach cobbler is an absolute showstopper alongside a heaping pile of BBQ.
A Few Final Thoughts
Don’t skip the reheat before serving if the brisket has been resting for a long time. Getting it back up to 145 degrees internally ensures you’re serving it at the right temperature without overcooking it or serving cold brisket.
And when you’re ready to slice, go against the grain. Always. The grain direction actually changes between the flat and the point, so pay attention as you work through the brisket. Clean, against-the-grain slices are the difference between brisket that melts in your mouth and brisket that chews like shoe leather. Same exact piece of meat, two totally different experiences.