


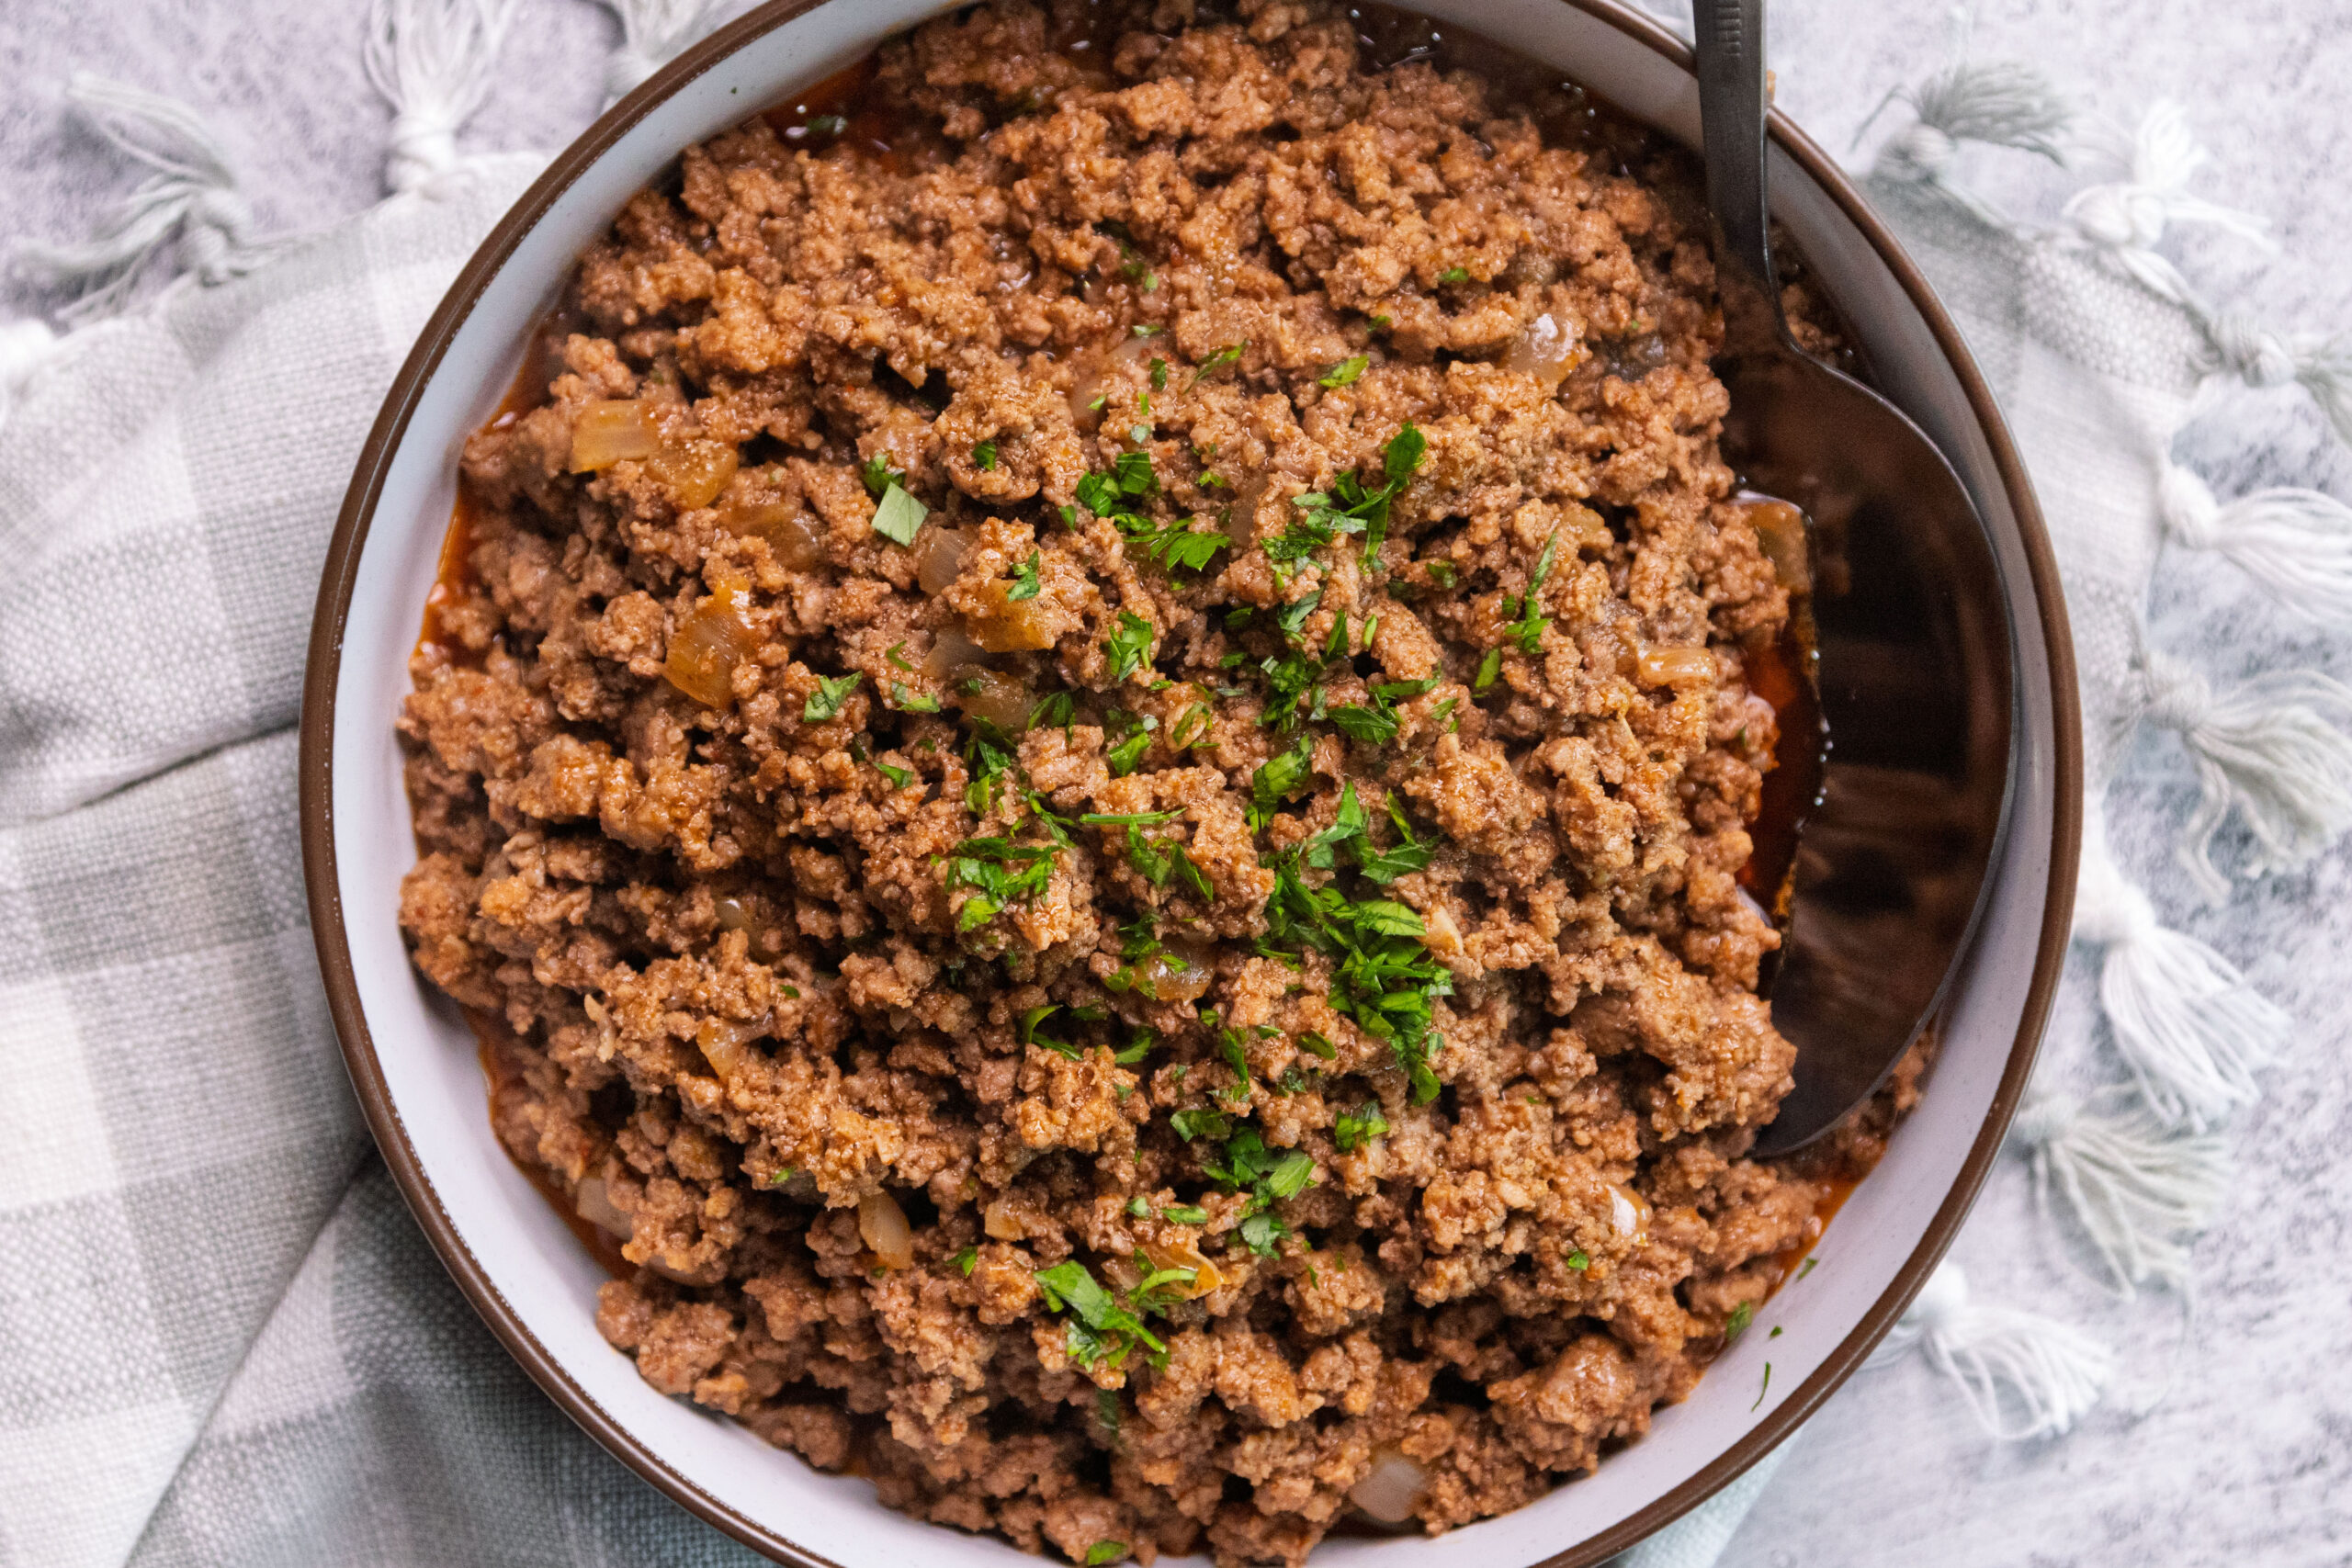
Ingredients
- 1 lb ground beef
- 2 ½ tbsp homemade taco seasoning
- 2 tbsp beef base my favorite is Better Than Bouillon
- 1 cup water
Instructions
- Put your skillet over medium-high heat and let it sit. When you can hold your hand a few inches above the surface and feel a wave of heat radiating off it, you're ready. If you drop a tiny piece of beef in and it doesn't immediately hiss at you like a threatened cat, wait another minute.
- Place the block of beef in the hot pan and press it down slightly with your spatula to maximize contact. Now, walk away. Don't touch it for at least three minutes. You want the bottom to develop a dark, crispy, brown crust. Once that's achieved, flip it over in large chunks. Only after both sides have a good sear should you start breaking it up into smaller pieces. This gives you a mix of textures: soft and juicy bits next to crunchy, flavorful nuggets.
- If you used 80/20 beef, you probably have a fair amount of fat. You don't want your tacos to be an oil slick, but you also don't want to strip away all the flavor. The pro move is to drain most of it, leaving about a tablespoon or two in the pan. This remaining fat is what we're going to use to "toast" our spices in the next step. If you drain it completely, your spices will just sit on the meat like dust.
Blooming Your Spices for Extra Punch
- Push your meat to the sides of the pan, creating a little clearing in the center. Dump your chili powder, cumin, and paprika into that hot spot. Let them sit in the hot fat for about 30 to 60 seconds. You'll start to smell them. It'll be intense and wonderful. This is called "blooming." Hot fat + dry spice = the heat wakes up the essential oils and makes them much more potent than if you just stirred them into a liquid.
- Now, pour in your beef broth. The pan will hiss and steam, which is exactly what you want. Use your spoon to scrape up any brown bits stuck to the bottom of the pan. That's "fond," and it's concentrated flavor.
- Turn the heat down to low. This is the "low and slow" phase. You want the liquid to reduce until it forms a thick, glossy sauce that clings to every single piece of beef. It shouldn't be watery, but it shouldn't be bone-dry either. Think of it like a velvet coat for your meat. This usually takes about 5 to 10 minutes of gentle bubbling.
- Taste it. Does it need more salt? Probably. But before you reach for the salt shaker, reach for a lime. A squeeze of fresh lime juice at the very end provides "acid," which cuts through the richness of the fat and makes the spices pop. It's the difference between a "good" taco and a "wow" taco. If it still feels like it's missing a little "oomph," a pinch of salt will finish the job.
 What do you think of this recipe?Keep scrolling for the full recipe post. Please consider Leaving a Review!
These aren’t Taco Tuesday tacos. These are the kind of tacos that make people stop mid-sentence, close their eyes, and wonder if you’ve been moonlighting at a high-end cantina. We aren’t browning meat here. We’re building a flavor profile that would make a food truck owner sweat. A humble pound of ground beef is about to turn into something legendary.
Forget the Packet: Why You’re Leveling Up Your Taco Game
We’ve all been there. You grab that little yellow or orange envelope at the grocery store, rip it open, and dump a cloud of dusty, mystery powder into your pan. It’s fine. It’s convenient. But “fine” isn’t why you’re here.
The problem with the packet is that it’s one-dimensional. It’s mostly salt, cornstarch, and “natural flavors” that haven’t seen a real spice plant in years. When you make your own homemade taco seasoning, you control the heat, the depth, and the texture. You get to decide if your beef is smokey, spicy, or earthy. You’re ditching the gritty, oversalted sludge and trading it for juicy, vibrant ground beef that actually tastes like beef. Plus, you get the bragging rights of telling everyone you made it from scratch.
The Hardware You’ll Need for Ground Beef Glory
Before we ignite the flame, let’s talk tools. You don’t need a professional kitchen, but a few specific items will make your life significantly easier.
First and foremost, get a heavy-bottomed skillet. Cast iron is the gold standard here because it holds heat like a champion and gives you that crusty sear we’re hunting for. If you don’t have cast iron, a large stainless steel pan works wonders. Avoid flimsy non-stick pans if you can. They struggle to get hot enough to really brown the meat without melting their coating into your dinner.
You’ll also need a sturdy wooden spoon or a stiff metal spatula. We’re going to be breaking up that beef like we’re trying to win a fight, so you need something with backbone. Finally, grab a small whisk or even just a fork for mixing your liquid base. That’s it. No fancy gadgets, no sous-vide machines. Just metal and heat.
Ingredient Scouting: Picking the Right Beef and Spices
Your tacos are only as good as what you put into the pan. Sad ingredients = sad taco. It’s simple math.
The 80/20 Rule: Why Fat is Your Best Friend
When you’re at the meat counter, you’ll see those percentages: 90/10, 85/15, 80/20. Your instinct might be to go for the leanest option because it seems “cleaner.” Fight that instinct.
You want 80/20 ground beef. That 20% fat is where the flavor lives. It’s the lubricant that keeps the meat from turning into dry, crumbly pebbles in your mouth. As the fat renders out, it fries the beef in its own juices, creating those little crispy bits that are the hallmark of a great taco. If you go too lean, you’re basically eating steamed protein. Nobody wants that.
The Secret Liquids for Maximum Juiciness
If you just add dry spices to beef, you get a dry mess. You need liquid to help those spices “bloom” and coat every single morsel of meat.
Beef broth is your best friend here. It’s richer than water and reinforces the meaty flavor. But if you want to go pro, add a splash of tomato paste for umami and a teaspoon of soy sauce or Worcestershire sauce. I know, it sounds weird for tacos, but those fermented flavors act as a flavor megaphone for the beef.
How to Troubleshoot Your Taco Meat
Even the best of us have bad days in the kitchen. If things go sideways, don’t panic. Almost everything is fixable.
What to Do if It’s Too Salty
If you got a little heavy-handed with the salt or used a broth that was too salty, don’t throw it out. You can add more water to dilute the saltiness. Another trick is to add a pinch of sugar. It won’t remove the salt, but it will balance the flavor profile so your tongue doesn’t feel like it’s being attacked.
Fixing the “Dry Beef” Disaster
If you accidentally simmered the meat too long and it’s looking a bit like sawdust, don’t worry. Add a splash of broth and a tiny knob of butter. The butter will emulsify with the liquid and create a rich, fatty mouthfeel that mimics the juiciness you lost. It’s a restaurant secret that fixes almost any overcooked meat.
The Best Ways to Serve Your Masterpiece
You’ve done the hard work. Now it’s time for the payoff.
For the full food-truck experience, use corn tortillas. But don’t just pull them out of the bag. Toast them over an open flame on your gas stove or in a dry pan until they get those little charred spots. It adds a smoky dimension that complements your beef perfectly. If flour is more your speed, a batch of chewy sourdough tortillas gives you a soft, pliable wrapper with a little tang behind it, and the taco-sized doughballs roll out to 7 or 8 inches, which is exactly right for this. Roll them thin, cook them fast, keep the stack under a towel until you’re ready. Once you’ve nailed this routine, these chipotle marinated grilled steak fajitas are the natural next move on tortilla night.
Load up your meat and keep the toppings simple so the beef can shine. Finely diced white onion, a handful of fresh cilantro, and a crumble of cotija cheese are all you really need. If you’re feeling fancy, a few slices of radish add a great crunch.
If you want to swap out the tortilla entirely, pile this meat onto a piece of hot, pillowy fried bread and you’ve got yourself a Navajo taco. Same fillings, different vehicle. The fried bread soaks up the juices in a way a tortilla never will.
Storage and Why Leftovers Might Actually Taste Better
If by some miracle you have leftovers, you’re in luck. Taco meat is one of those rare foods that actually improves after a night in the fridge. As it sits, the spices have more time to penetrate the meat, and the flavors meld together into a harmonious, spicy symphony. The same spice trio anchors a proper bowl of chili with a secret twist, which means the leftover taco meat already has half a chili built in if you want to take it that direction.
To reheat, put it back in a skillet with a tiny splash of water to loosen up the sauce. Avoid the microwave if you can. It tends to make the beef rubbery. In a pan, it’ll get those crispy edges all over again.
You’re the New Neighborhood Taco Legend
You’ve graduated from the school of the “Salty Yellow Packet.” 80/20 beef. Bloomed spices. A real sear. A finishing squeeze of lime. That’s the whole game.
Your kitchen will smell like a dream. Your tacos will be the talk of the table. And you’ll never look at a pre-made seasoning mix the same way again.